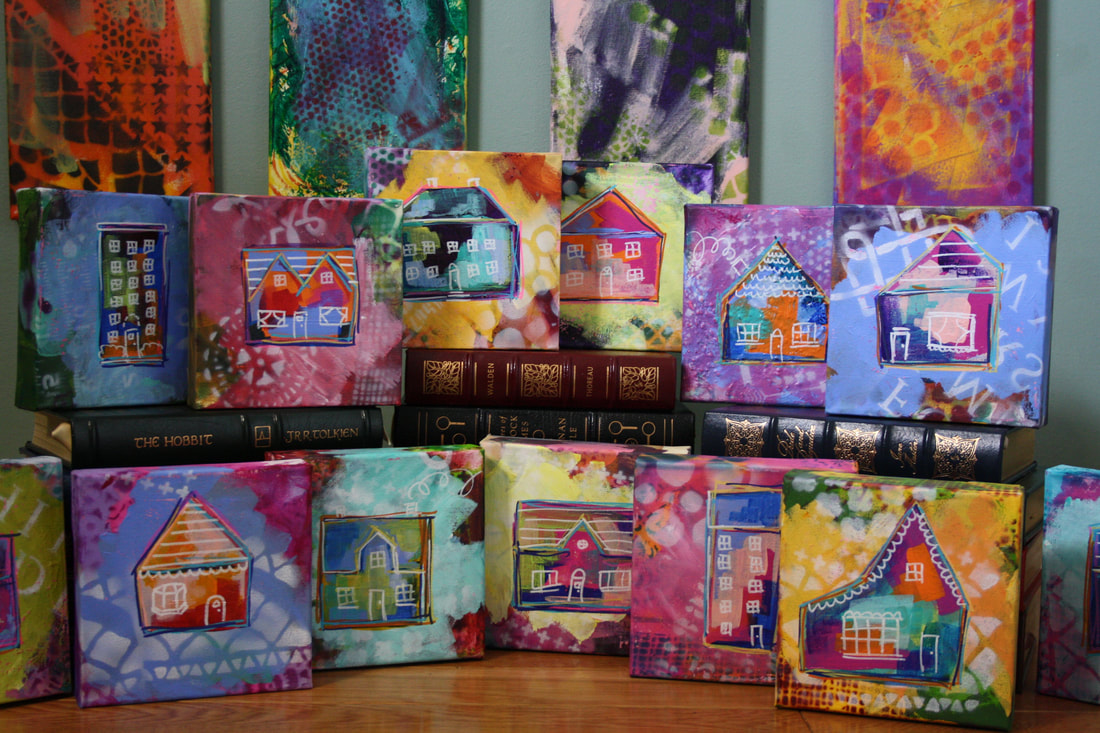
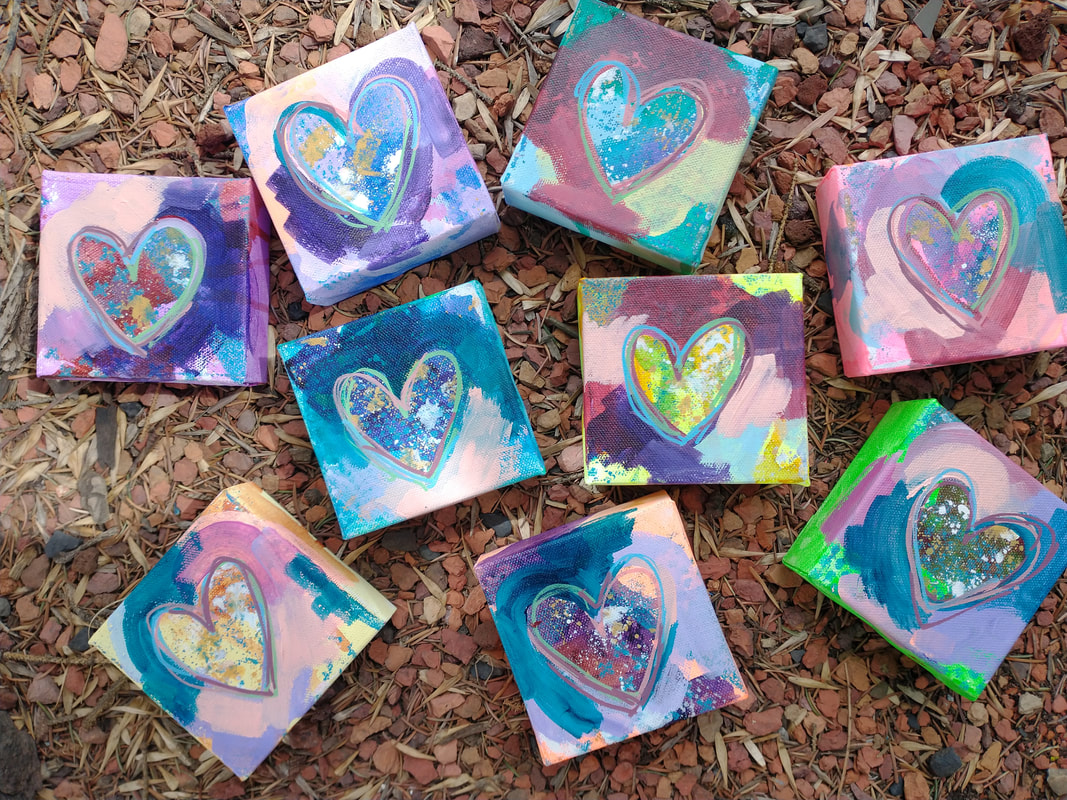
One of the most popular workshops in schools and otherwise have always been painted hearts and every year I like to paint some for Valentine’s Day. This is a great project when working with children and is a terrific introduction on how to keep colours vibrant. Painting hearts is a fun way to spend an afternoon and can be adapted in so many ways. This project also works well to make cards. When I’m painting these, I like to think of the things I’m grateful for…there is plenty of thinking time with all the layers of colour required. You can add as many or a little colour as you’d like, go bold or neutral. We also create a series of houses in this same manner by incorporating simple shapes (triangles & squares/rectangles).
Tools & Materials:
Directions:
Tools & Materials:
- Stretched 8x10 canvas (options: paint panels or paper)
- Acrylic paints (I think this project would work well with watercolours, too)
- Flat and round paint brushes
- Sponges (makeup sponges work well) and palette knife or plastic card
- Water dish, palette, rag & water spray bottle
- Stencils (optional)
- Acrylic spray paint (optional)
- Brayer or small paint roller (optional)
- I like to use flat and small round paint brushes for added interest.
- A stencil brush and acrylic paint or simply adding patterns with paint brushes or sponges can be used instead of spray paint.
- If using paper, a layer of white gesso will add texture and substance to the surface.
- Clean water dish regularly to keep paint colours vibrant.
Directions:
- Using acrylic paint and a brayers/roller, palette knife or plastic card spread colour around the canvas. There is no need to cover the entire canvas at this point.
- Allow to dry well in between layers in order to keep colours vibrant.
- Select another colour and use another tool to add paint to blank spaces of the canvas. Allow to dry well.
- Using a translucent paint (or acrylic ink) and flat brush, add a transparent layer of colour in spots around the canvas (don’t cover all of the initial layer). You can wet the paint with plenty of water in order to allow the colour to spread and drip.
- Once that layer has dried, take your stencils and spray paint to a well-ventilated area and begin adding patterns (can also use a sponge at this stage). Pay attention to repeating pattern and colour around the canvas in order to keep the image interesting and the viewer’s eye moving around the surface. An option is to use the stencils with a paintbrush or sponge or to use items around the house such as jug lids, spatulas and brushes to add patterns of lines and circles. Finger tips create great dots.
- Using either a fine paintbrush and paint or a paint marker, split the canvas into thirds horizontally and vertically. I like to place two small marks equally separated along each edge then connect these ‘dots’ horizontally and vertically in order to create 9 spaces on the canvas.
- Draw a heart in each rectangle. Because these are quite child-like, I occasionally draw the hearts using my left (non-dominant) hand.
- Paint each heart a different colour and allow to dry.
- Finally, add more colours in each heart, around the edges of each heart and around the rectangles around each heart using either a small paintbrush or paint markers. Repeat this step until you are happy with the finished product.