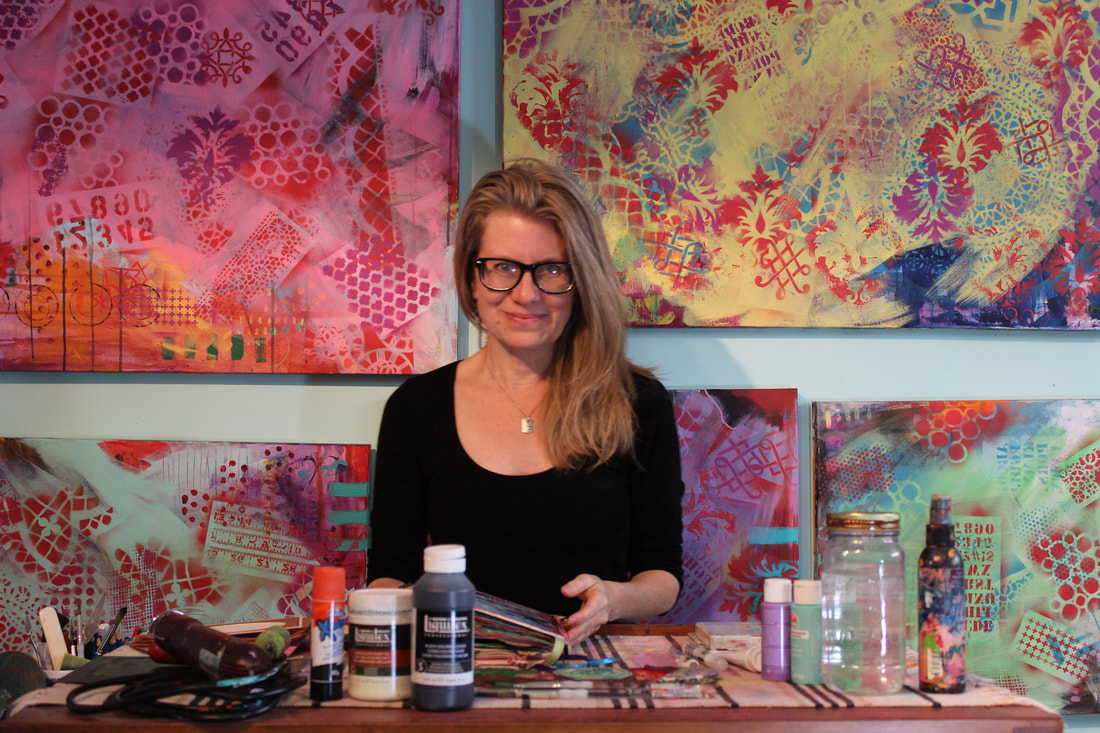
This is an introduction to the world of art journaling through altering books. Utilizing reclaimed and recycled materials along with a large selection of supplies such as ribbons, paint, and rubber stamps to begin a journal that is both personal and a beautiful work of art.
SUPPLIES
Altering books are a wonderful way to save books, to repurpose them and give them a new life in a beautiful way. I worked in a library for many years and was saddened to see how many books are recycled or trashed because they were damaged or became irrelevant. Creating an altered book is like creating a beautiful journal filled with personal memories.
The supplies required are really flexible. The fun thing with this creative process is just that…it’s extremely creative and open to all sorts of ideas. I often wander through hardware, craft supply and dollar stores and will pay attention to what draws my attention. I also receive little gifts, cards or collect items such as receipts, postcards or business cards on travels but am not certain what to do with them or how to display them. Over time I tend to collect little items that end up working beautifully in an altered book.
Whenever I work on altering books, I try to take a very intuitive approach. I glue, colour, paint, stencil and so on throughout the book, removing pages whenever it begins to feel full. Often I will select a theme (ie. Friends, Inspiration, Self-Portrait, Nature) but at times I just allow myself the freedom to wander creatively as I know the ideas will come as I’m working. I used to worry that I would run out of ideas but there is something very interesting about creativity and how working actually creates more ideas. I find that the most important thing for me to keep things interesting and cohesive is to repeat patterns and colours. That’s where a theme can help. I also find that layering patterns and colours and going back and forth between pages adds to interest in the end. I often clean my paint brush on a page that I haven’t worked on as well to add to the layers. There are times when one page isn’t quite dried so I will place a sheet of wax paper in between the pages or dry it using a heat gun or blow dryer.
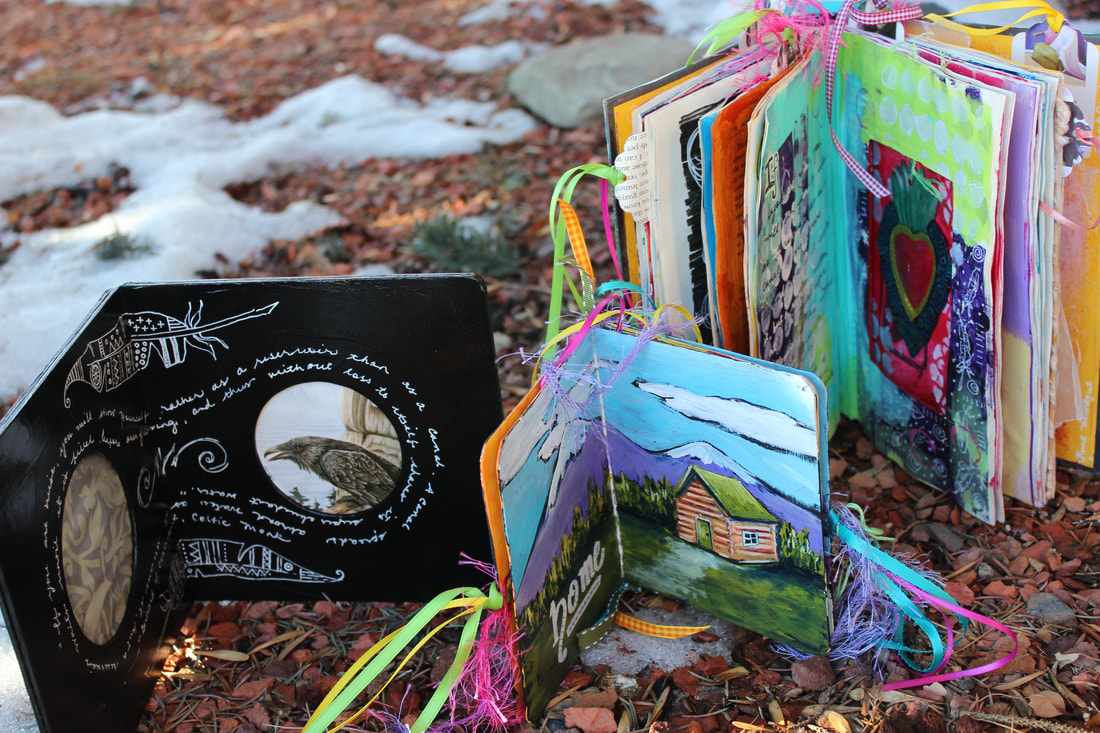
To work on the cover, I tend to open the book at the center and lay it flat on my work surface. As I like to work in many layers, I will often work on the cover throughout the process instead of completing it at the beginning of the project. I like to use spray paint and stencils to decorate the cover but a stencilling with a paintbrush works well, too.
A few of my favorite things to add to my books are magazine images and quotes, handmade tags (I often use pages I’ve torn out of the books, scrapbook paper, bookmarks or paint chips), drawings or paintings on paper, and handwriting. I like to use my own handwriting but on occasion will type something onto my computer and play with different fonts to transfer to my book.
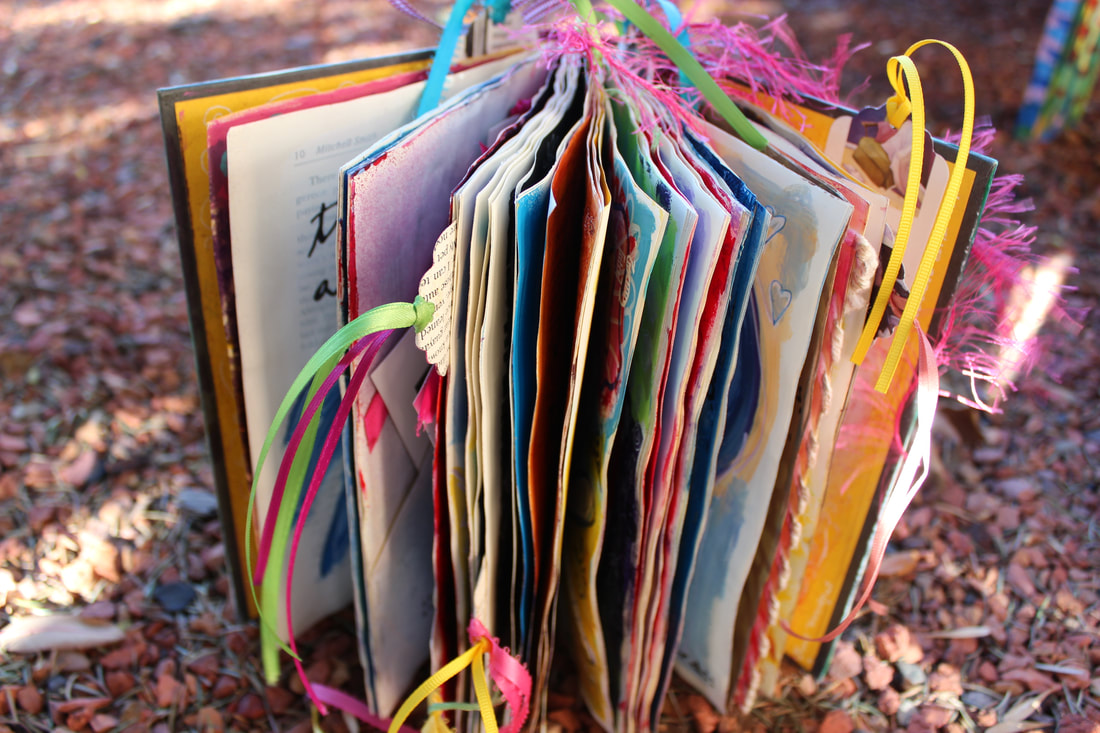
One of my favorite things to add to altered books is a variety of ribbons. My preference is to create books that are vibrantly coloured so I tend to continue to colour palette in my ribbons but I think a monochromatic (a variety of shades of one colour) or neutral palette would be lovely, too. My advice would be to keep an open mind, experiment and have fun!
SUPPLIES
- Gesso, acrylic paint, ink pads, markers, pens, pencils
- Hole & paper punches, scissors, xacto knife, stapler, rubber stamps, stencils
- Clear contact paper, tissue paper, magazines, scrapbook paper, ribbons or yarn
- Gel media, glue sticks, tape (optional: modge podge)
- Palette, water dish, cotton rags, spray bottle, paint brushes
Altering books are a wonderful way to save books, to repurpose them and give them a new life in a beautiful way. I worked in a library for many years and was saddened to see how many books are recycled or trashed because they were damaged or became irrelevant. Creating an altered book is like creating a beautiful journal filled with personal memories.
The supplies required are really flexible. The fun thing with this creative process is just that…it’s extremely creative and open to all sorts of ideas. I often wander through hardware, craft supply and dollar stores and will pay attention to what draws my attention. I also receive little gifts, cards or collect items such as receipts, postcards or business cards on travels but am not certain what to do with them or how to display them. Over time I tend to collect little items that end up working beautifully in an altered book.
Whenever I work on altering books, I try to take a very intuitive approach. I glue, colour, paint, stencil and so on throughout the book, removing pages whenever it begins to feel full. Often I will select a theme (ie. Friends, Inspiration, Self-Portrait, Nature) but at times I just allow myself the freedom to wander creatively as I know the ideas will come as I’m working. I used to worry that I would run out of ideas but there is something very interesting about creativity and how working actually creates more ideas. I find that the most important thing for me to keep things interesting and cohesive is to repeat patterns and colours. That’s where a theme can help. I also find that layering patterns and colours and going back and forth between pages adds to interest in the end. I often clean my paint brush on a page that I haven’t worked on as well to add to the layers. There are times when one page isn’t quite dried so I will place a sheet of wax paper in between the pages or dry it using a heat gun or blow dryer.
To work on the cover, I tend to open the book at the center and lay it flat on my work surface. As I like to work in many layers, I will often work on the cover throughout the process instead of completing it at the beginning of the project. I like to use spray paint and stencils to decorate the cover but a stencilling with a paintbrush works well, too.
A few of my favorite things to add to my books are magazine images and quotes, handmade tags (I often use pages I’ve torn out of the books, scrapbook paper, bookmarks or paint chips), drawings or paintings on paper, and handwriting. I like to use my own handwriting but on occasion will type something onto my computer and play with different fonts to transfer to my book.
One of my favorite things to add to altered books is a variety of ribbons. My preference is to create books that are vibrantly coloured so I tend to continue to colour palette in my ribbons but I think a monochromatic (a variety of shades of one colour) or neutral palette would be lovely, too. My advice would be to keep an open mind, experiment and have fun!
POCKETS:
I like to add pockets by creating them in the book by folding down the corner of a page and using a stapler or ribbon to stitch them or by attaching envelopes of different sizes. They’re fun to tuck little notes and drawings into.
I like to add pockets by creating them in the book by folding down the corner of a page and using a stapler or ribbon to stitch them or by attaching envelopes of different sizes. They’re fun to tuck little notes and drawings into.
POETRY:
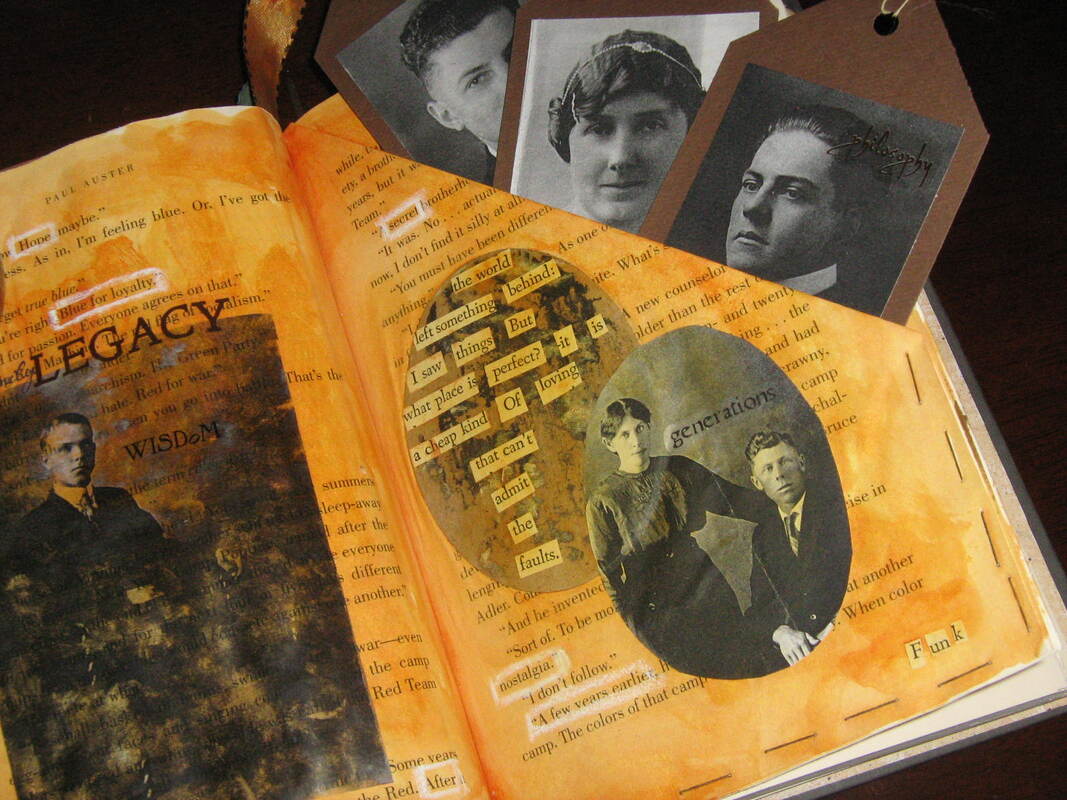
This is a fun exercise and can be done two ways. The first is called blackout poetry and to do this you circle words that draw your attention on the printed book pages. Then, using a thick sharpie or dark paint, black out all the rest of the words. The second is to cut out words from books or magazines and glue them into your journal to create a poem. It doesn’t need to make sense to anyone but you. You can even create a type of ‘nonsense’ poem just by incorporating the words you love.
This is a fun exercise and can be done two ways. The first is called blackout poetry and to do this you circle words that draw your attention on the printed book pages. Then, using a thick sharpie or dark paint, black out all the rest of the words. The second is to cut out words from books or magazines and glue them into your journal to create a poem. It doesn’t need to make sense to anyone but you. You can even create a type of ‘nonsense’ poem just by incorporating the words you love.
PHOTO TRANSFER:
Using clear contact paper for lining cupboards (available at Walmart & some dollar stores), select a magazine image or photocopy and adhere the sticky side of the contact paper to the front of your image (the image you want to keep) and rub on well (I use a bone folder but a plastic card will do nicely). Soak in hot water for 5-10 minutes and, using your finger, rub the image off the contact paper. The more you remove, the more transparent and vintage the image will be. Now cut and paste into your project
Using clear contact paper for lining cupboards (available at Walmart & some dollar stores), select a magazine image or photocopy and adhere the sticky side of the contact paper to the front of your image (the image you want to keep) and rub on well (I use a bone folder but a plastic card will do nicely). Soak in hot water for 5-10 minutes and, using your finger, rub the image off the contact paper. The more you remove, the more transparent and vintage the image will be. Now cut and paste into your project
WINDOWS & POP-OUTS:
I love to create little ‘windows’ in my books by cutting out the center of my pages. Using a large craft punch is another beautiful way to add these little niches. Often, I will adhere several pages together before or after cutting out the hole in order to strengthen the pages.
For pop-outs, I will either just cut the pages that are in the book into a new shape (like the heart above) or I will adhere pages I have removed from other parts of the book so that they either stick outside the edges of the book or fold out.
|
|
