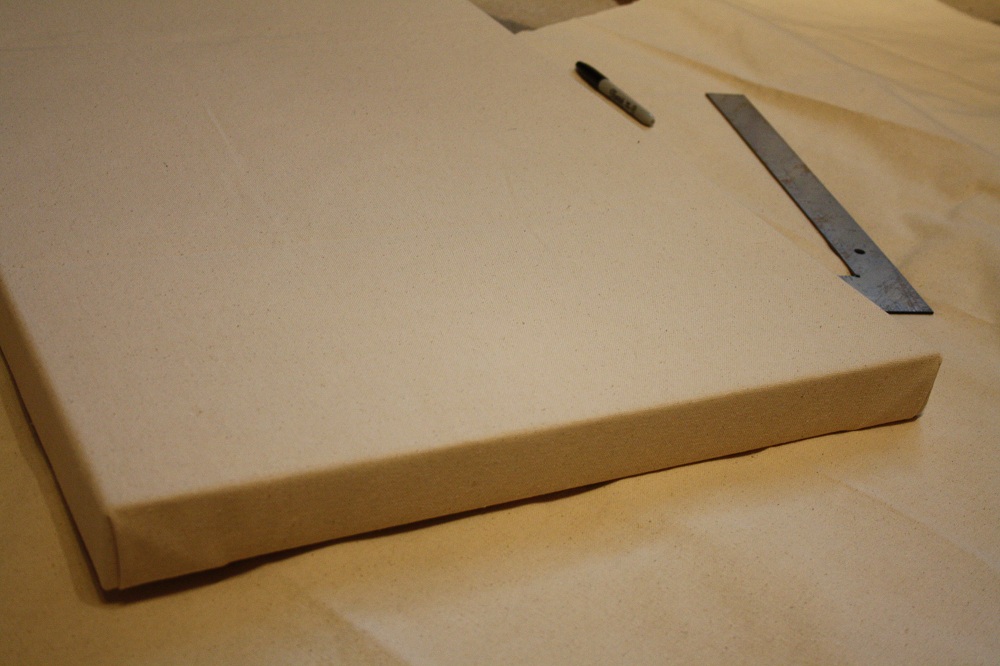
Back in my art school days one of my favorite tasks was stretching canvas. I loved the smell of the wood shop, it reminded me of home, and the physical activity of getting down and stretching the canvas. We also made our own gesso (canvas primer), though I've long forgotten the recipe and would love to do so again. After college, I used to stretch my own canvases all the time and enjoyed doing it - I felt even more connected to the work because I did it all myself. Though I no longer cut the stretcher bars for the frame, I still like to stretch my own canvases on occasion which comes in handy, especially when I have a commission for an unusual size. I prefer using 10 oz raw canvas and stretching with my fingers instead of using canvas pliers as I like a little give in the canvas while I paint and I find that once I gesso it, the canvas does pull tighter to the frame. NOTE: If you have a stretched canvas, even one that's been painted on, and it loosens or bulges you may be able to tighten it by spraying the back of the canvas with water and allowing it to dry. There are also sprays available on the market made specifically for this (ie. Tight'N'Up Canvas Re-Tensioner). 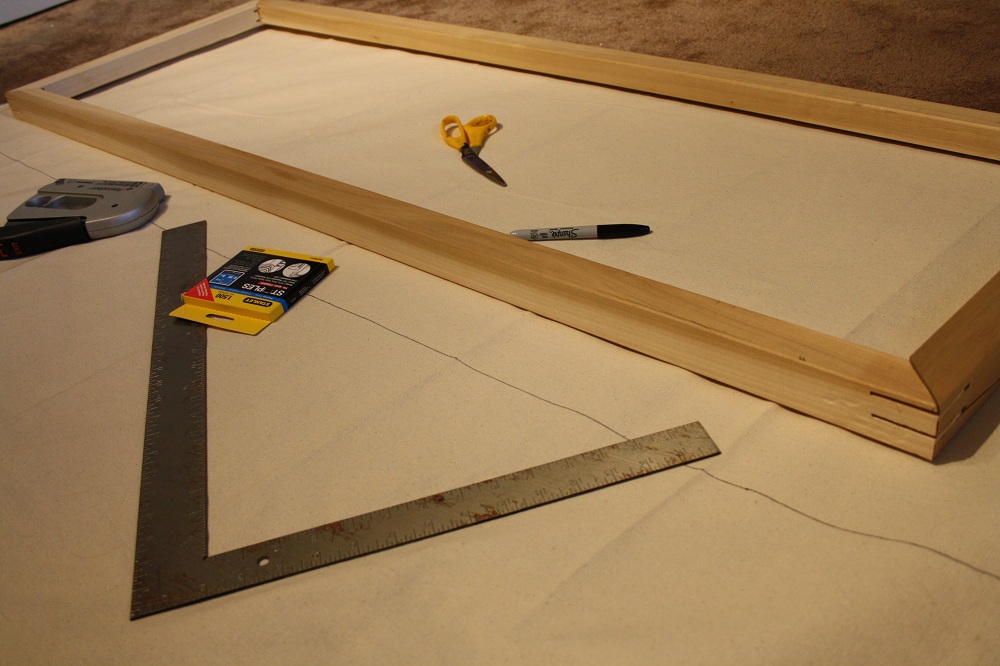
STEP 1: Measure up the sides and the back of the stretcher bars. In this case, the I'm using a gallery-depth frame where the bars are 2 inches square so I measured and added 4 inches all around the canvas so that the canvas I cut measured 8 inches wider and longer than the actual size of the prepared stretcher bars. Mark your measurements and cut out the canvas. I like to use a framing square to create sharper corners and its weight also holds down the canvas while I mark my measurements. Both the canvas and stretcher bars are available at most art supply stores. 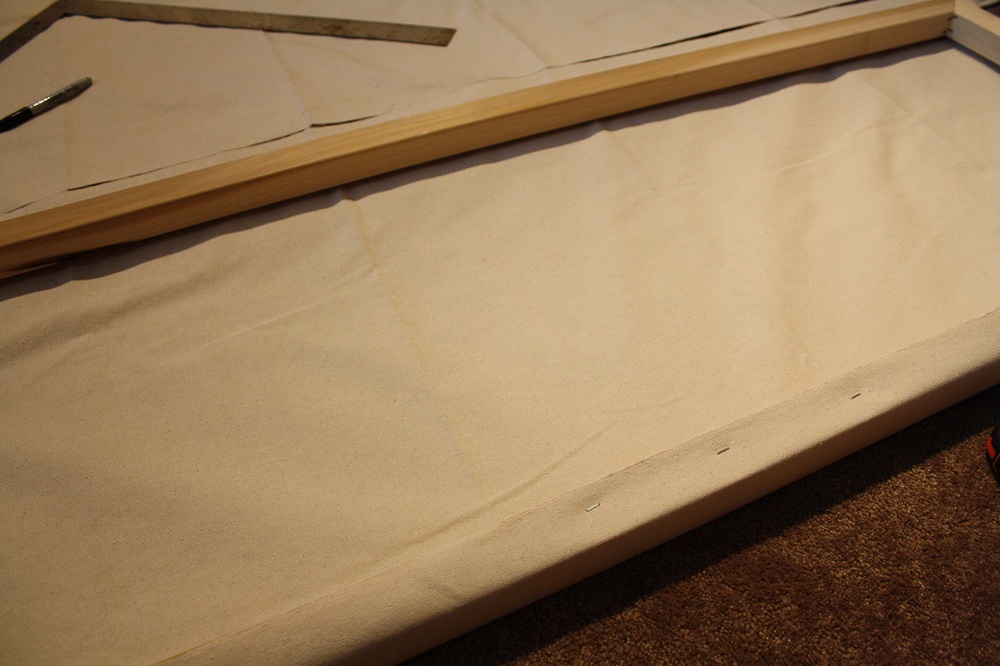
STEP 2: Center the stretcher bars on the canvas and begin by placing three staples on the center of the longest edge of your frame beginning in the middle and moving out from there. On the opposite side pull the canvas taught and place three more staples along that edge. Keep an eye on the entire canvas as you stretch and staple to avoid adding any wrinkles. If you are stretching to a smaller frame, place your staples closer together. 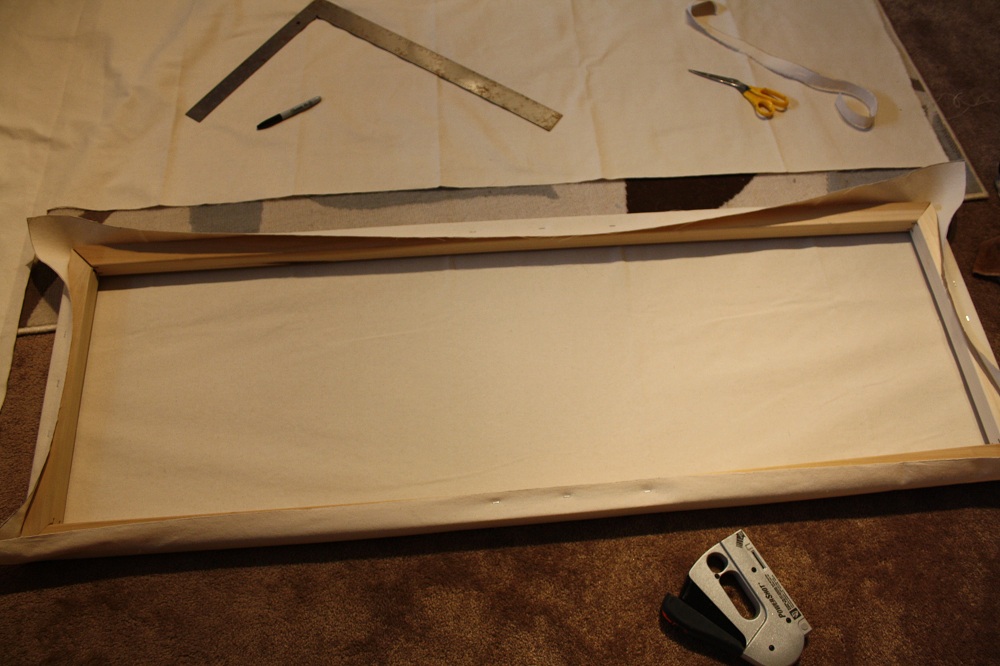
STEP 3: Repeat on the other two shorter sides. Continue stapling in this fashion, adding a few staples on the longest sides and then a couple on the two shorter sides. In this case, because two of the sides were quite a bit longer I placed two staples to the right and two to the left of the initial staples, while on the shorter sides I only placed one staple to each side of the initial staples. 
STEP 4: Continue adding a staple rotating the sides of the canvas until you are approximately 2-4 inches from the corners depending on the size of your frame. 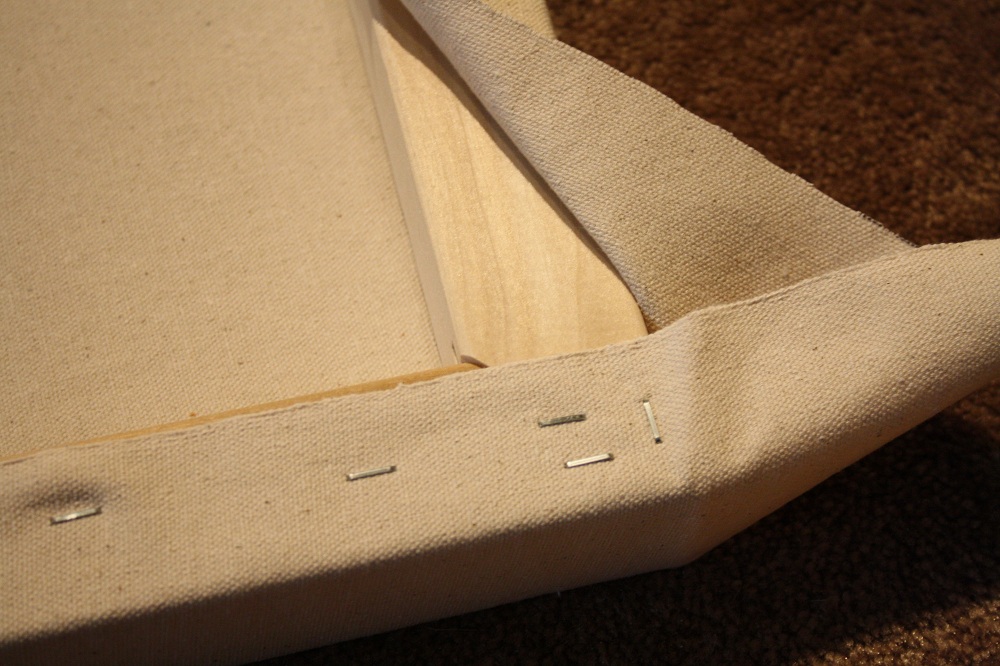
STEP 5: The corners are where people tend to get a bit confused but they really are quite simple once you know the technique. I tend to do all the corners at once so that I make sure the folds are all facing the same direction. I pull the canvas taught along the longest edge of the frame and secure it well with two staples and then place a third vertically along the edge of the frame. 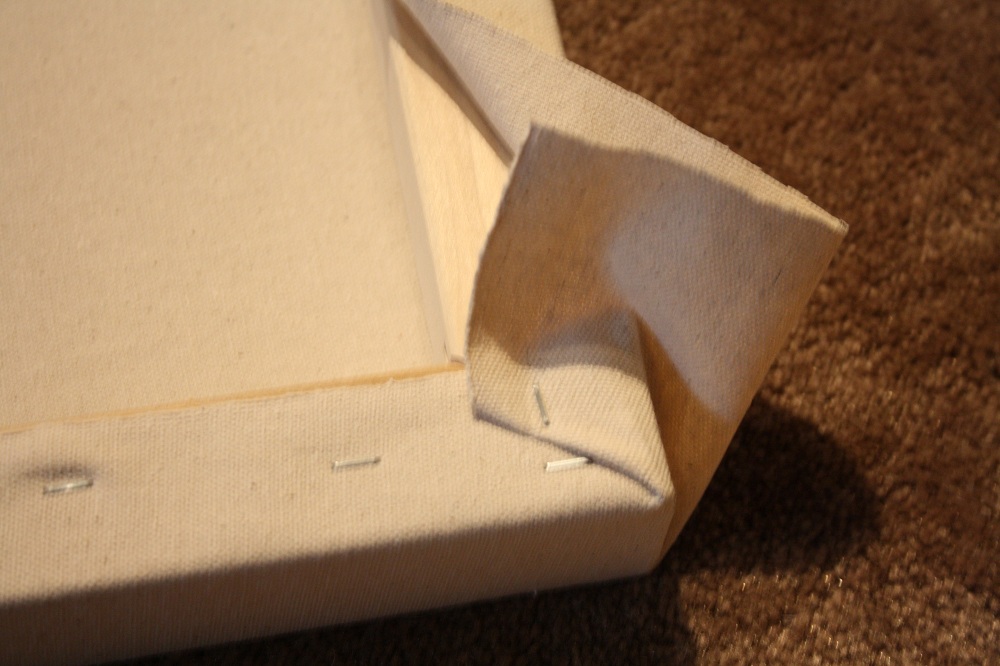
STEP 6: I then pull the canvas diagonally from the corner of the frame and across the secured staples and place another staple to hold that edge. Be sure to pull your canvas very tight. 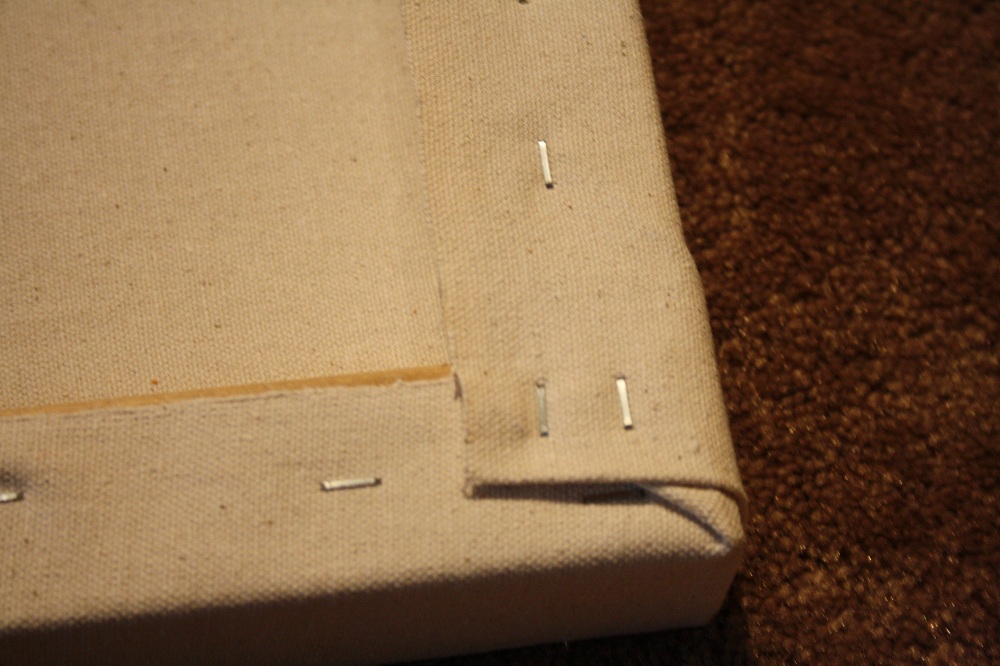
STEP 7: Finally, I pull the remainder of the canvas over the frame and secure it well with two more staples. 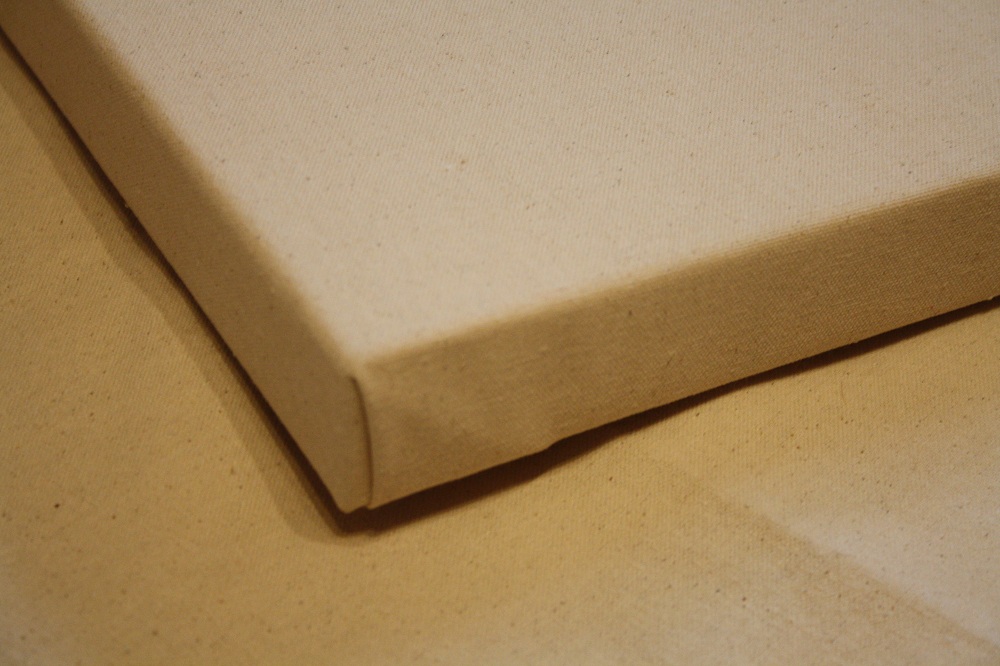
FINISHED: I hope this encourages you to try stretching your own canvases.
Comments are closed.
|

|
